Tagwipe - Usage
HOW TO USE TAGWIPE IN BOTH OPERATING SYSTEMS:
Clicking on the shortcut “TagWipe” the script starts and you receive the following shell window:
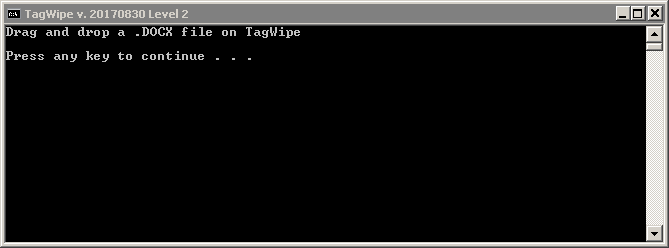
- Drag and drop the DOCX file(s) or/and the folder(s) containing the files to be cleaned on the TagWipe shortcut in your Desktop.
- *.docx file(s) with the same name will be created in the “_wiped” folder.
OPTIONS IN BOTH OPERATING SYSTEMS:
- The file level.1 in the installation folder is the default. But you can change the level of cleaning from 0 to 8, with 0 being the most conservative level.
To change the level, just rename this file to the level you want according to your needs. Ex: level.4
Note: Take into consideration that segmentation may be different according to the cleaning level. So it is not recommended to change the cleaning level in the middle of a translation project.
- You can change the name (not the location) of the "inplace._wiped" folder, keeping “inplace.” unchanged and just adding whatever you want (i.e.: "inplace.something_else"). This subfolder will be automatically created and the tagwiped files copied to it.
Example: “inplace.Project-1”.
- If the original file(s) are not needed, you can rename the file "inplace._wiped" to “inplace” and in that case the originals will be replaced by the tagwiped files.
OPTION IN WINDOWS: DocCompare
In Windows, to make it easier to test if the cleaning operation – at the chosen level - has not removed anything you don’t want removed, you can use the TagWipeCompare script.
For that create a Desktop Shortcut to “TagWipeCompare.cmd”, than just drag and drop the docx file you want to clean on “TagWipeCompare” shortcut - on the Desktop. It displays the following shell window:
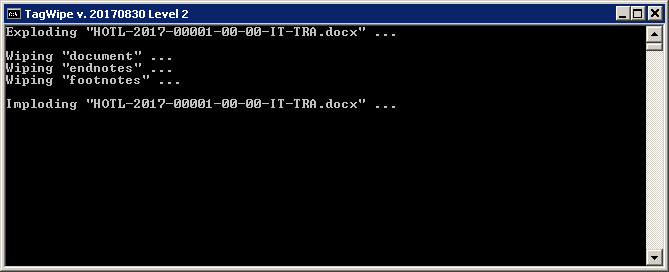
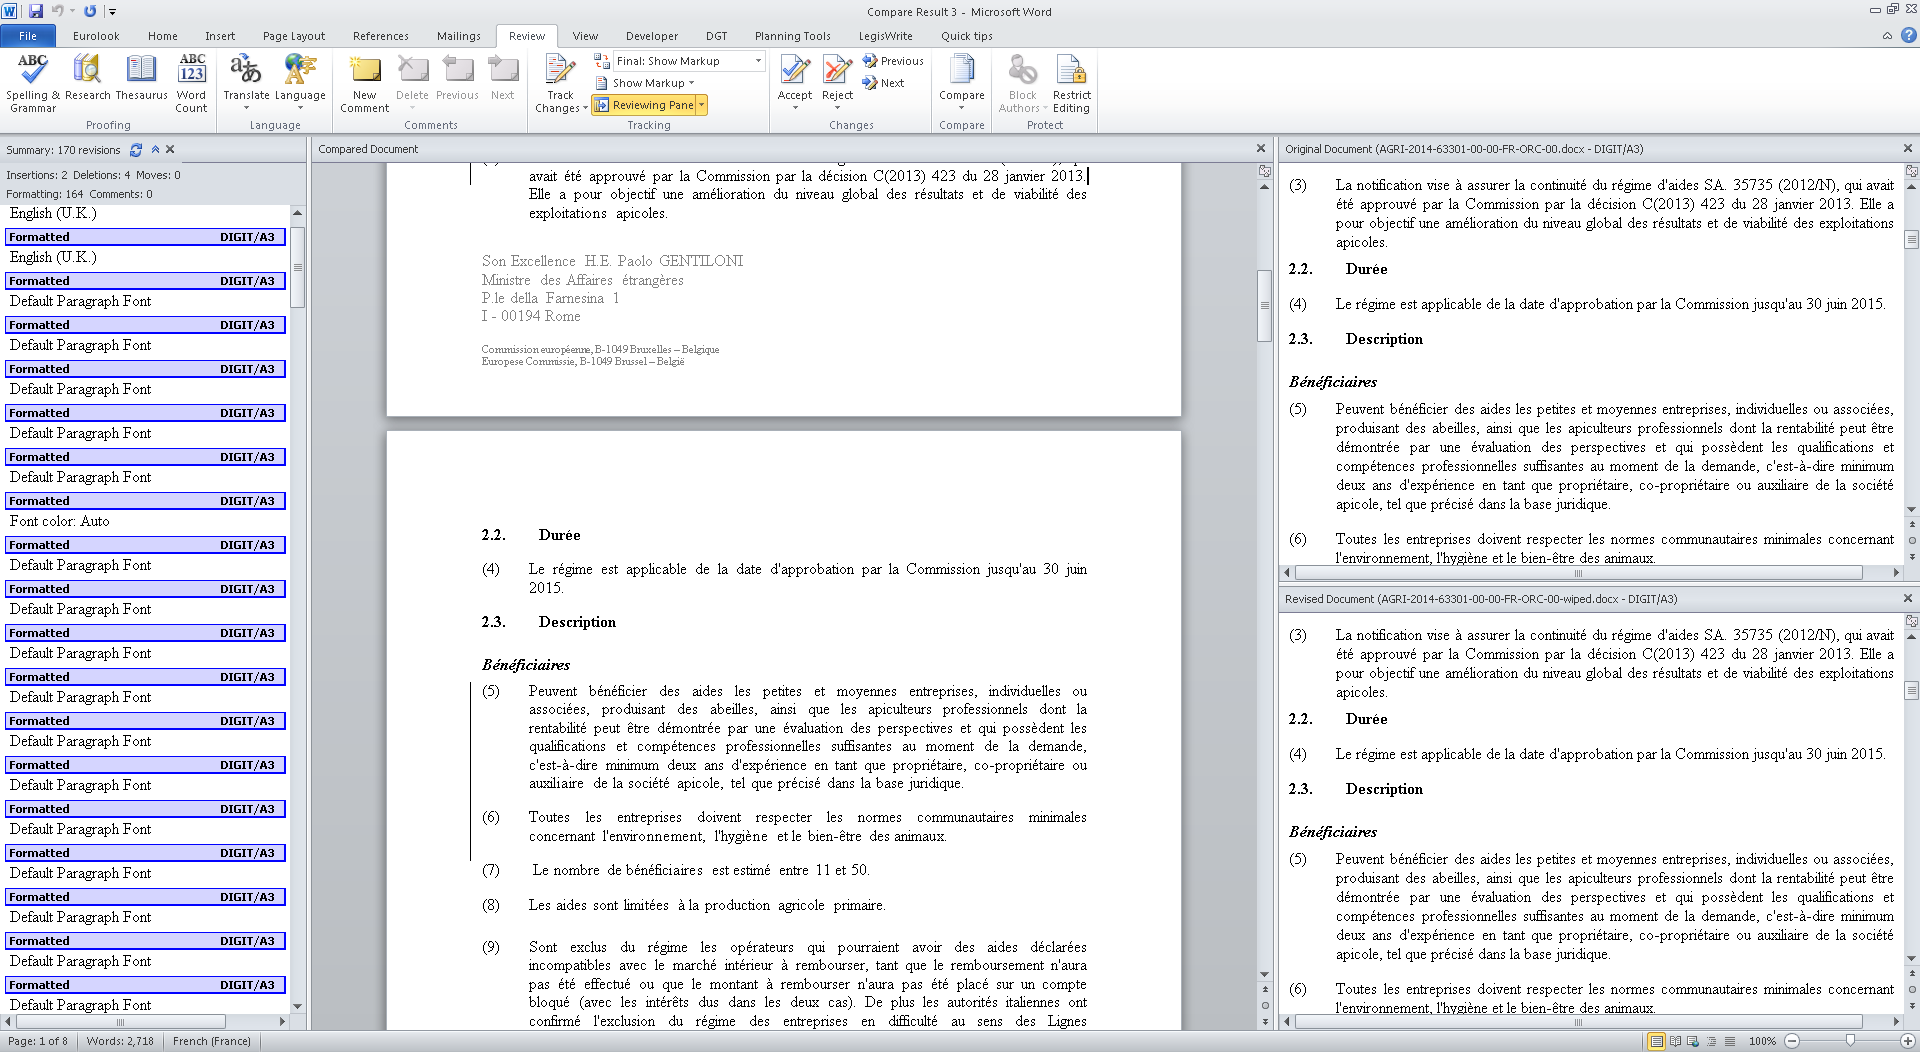
And after the wiping you receive a Winword window showing the original, the wiped document, the visual result and every change done in the document.
Add new comment